
Review the preparation and application of our liquid floor screeds
1. Preparation
All debris & dust is to be removed from sub floor.
This should leave a clean sub floor finish for the insulation to be laid on top of.
2. Insulation
 Insulation is laid down onto the sub floor. The insulation should sit flat on the sub floor and not be rocking. in some cases mechanical fixing (mushroom fixing) are used to hold down the insulations.
The sheets should be laid out evenly with no gaps between them. Edge insulation is also placed along the parameter of the walls (all walls for anhydrite screed), to avoid cold bridging.
3. Plastic
 A plastic membrane is place onto the insulation. A minimum 1,200 gauge plastic is to be used. Each joint is to be sealed by taping.
The plastic is to be turned up the walls, approx 150mm, and is to be firmly fixed / taped to the walls. For anhydrite screed all plastic has to be sealed completely water tight.
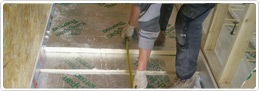
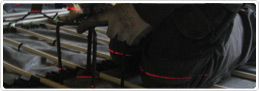
4. Fixing Pipes

Under floor heating re fixed onto the insulation. They are fixed using clips and pipe tracks that are fixed to the insulation at 300mm centres.
It is critical to ensure pipes are securely fixed down, so as to avoid pipes floating to the top of the surface when the screed is being poured.
5. Shuttering
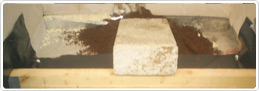 Any area where the screed is not to be poured i.e. wet room or fireplace, must be securely sealed.
This can be done using a timber shutter or an equivalent alternative.
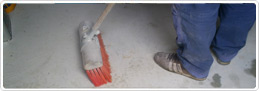
6. Clean Floor
 Floors should be cleaned and possibly vacuumed, to remove all loose debris and dust from the floor.
Otherwise loose debris pieces will rise to the top of the finished floor during pouring.
7. Floor Levels
 A finished floor point is determined, usually by external door threshold height or stairway landing height.
A laser beam is transfers to all areas of the house at this selected level.
Our adjustable tri-pods are secured to this level. Tripods are place 1m2 apart all over pouring area.
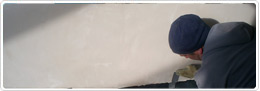
8. Install Floor
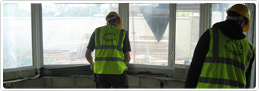 The screed is supplied onto site by the selected supplier. The screed is pumped into the house. To the set tri-pod (finished floor) level.
The screed is tamper finished. Leaving a smooth level floor finish.
Expansion joints are placed at each doorway of the floor and other areas that are deemed necessary.
9. Finished Floor
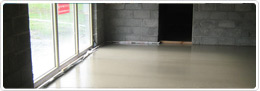 The floor is complete. Foot traffic is permitted next day after pouring.